Build a custom checkout
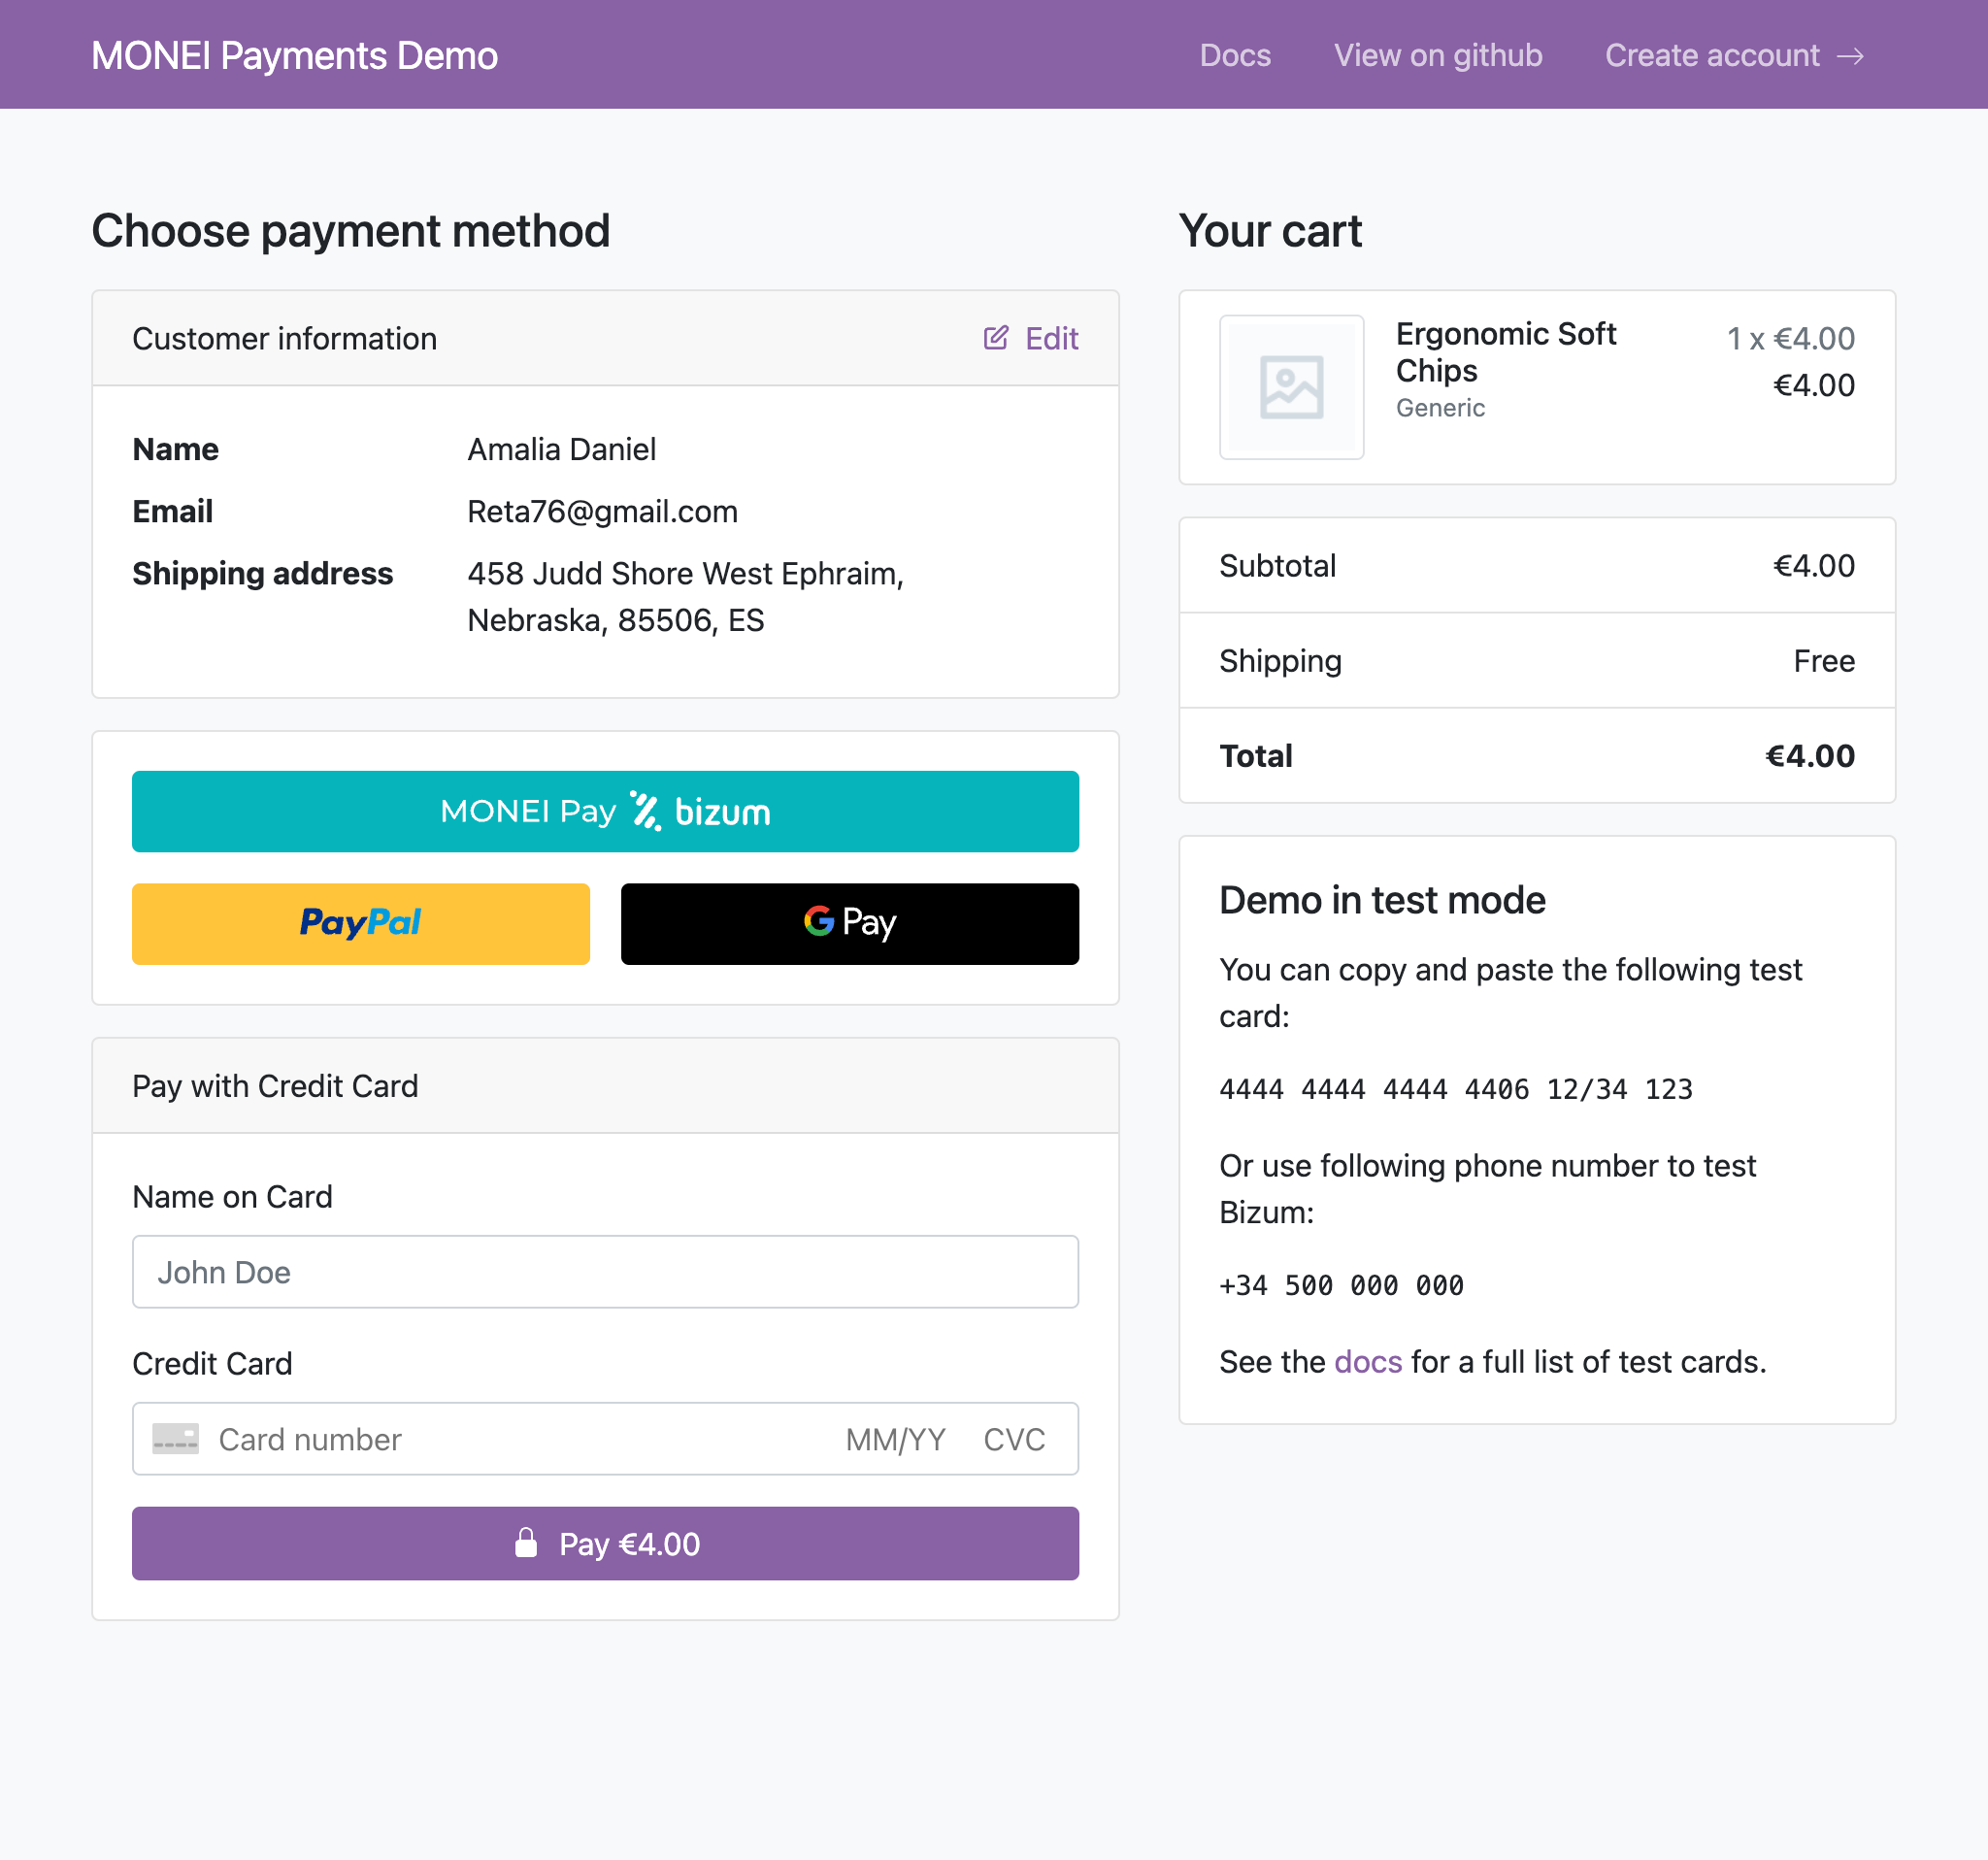
Build your own custom checkout experience using MONEI Components to securely collect payment details for various methods directly on your site.
Source code
MONEI Components Key Features:
- Securely collect payment details via iframes hosted by MONEI.
- Generate a one-time
paymentTokenfor secure server-side processing. - Available for plain JavaScript, React, Vue, and Angular.
- Support styling, language customization, and multiple payment methods.
- Helps meet PCI DSS compliance requirements as sensitive data doesn't touch your server.
Before You Begin
- This guide covers integrating various payment method Components. If you prefer a simpler, no-code solution, consider the Prebuilt Payment Page.
- You'll need a MONEI account and your API keys (test or live). Find them in your MONEI Dashboard.
- Use your test mode keys for integration testing.
- Ensure relevant payment methods are enabled in your account settings.
- You can monitor test payments in your MONEI Dashboard → Payments (ensure Test Mode is active).
Integration Steps
Integrating MONEI Components involves creating a Payment on your server, mounting the Component on your client-side, creating a token, confirming the payment, and processing the webhook notification.
1. Create Payment (Server-side)
Create a Payment on your server with an amount and currency. Always decide the amount on the server side.
- cURL
- Node.js
- PHP
- Python
curl --request POST 'https://api.monei.com/v1/payments' \
--header 'Authorization: YOUR_API_KEY' \
--header 'Content-Type: application/json' \
--data-raw '{
  "amount": 110,
  "currency": "EUR",
  "orderId": "14379133960355",
  "description": "Test Shop - #14379133960355",
  "customer": {
    "email": "email@example.com"
   },
  "callbackUrl": "https://example.com/checkout/callback"
}'
(Replace YOUR_API_KEY with your actual MONEI API key)
import {Monei} from '@monei-js/node-sdk';

// Replace YOUR_API_KEY with your actual MONEI API key
const monei = new Monei('YOUR_API_KEY');

const payment = await monei.payments.create({
  amount: 110,
  currency: 'EUR',
  orderId: '14379133960355',
  description: 'Test Shop - #14379133960355',
  customer: {
    email: 'email@example.com'
  },
  callbackUrl: 'https://example.com/checkout/callback'
});

// Pass payment.id to your client-side
const paymentId = payment.id;
<?php
require_once 'vendor/autoload.php';

use Monei\Model\CreatePaymentRequest;
use Monei\Model\PaymentCustomer;
use Monei\MoneiClient;

// Replace YOUR_API_KEY with your actual MONEI API key
$monei = new MoneiClient('YOUR_API_KEY');

$payment = $monei->payments->create(
  new CreatePaymentRequest([
    'amount' => 110,
    'currency' => 'EUR',
    'order_id' => '14379133960355',
    'description' => 'Test Shop - #14379133960355',
    'customer' => new PaymentCustomer([
      'email' => 'email@example.com'
    ]),
    'callback_url' => 'https://example.com/checkout/callback'
  ])
);

// Pass payment ID to your client-side
$paymentId = $payment->getId();
?>
import Monei
from Monei import CreatePaymentRequest, PaymentCustomer

# Replace YOUR_API_KEY with your actual MONEI API key
monei = Monei.MoneiClient(api_key="YOUR_API_KEY")

payment = monei.payments.create(
    CreatePaymentRequest(
        amount=110,
        currency="EUR",
        order_id="14379133960355",
        description="Test Shop - #14379133960355",
        customer=PaymentCustomer(
          email="email@example.com"
        ),
        callback_url="https://example.com/checkout/callback"
    )
)

# Pass payment ID to your client-side
payment_id = payment.id
Key Parameters:
- amount
positive integer: Amount in the smallest currency unit. - currency
string: Three-letter ISO currency code. - orderId
string: Your unique order identifier. - callbackUrl
string: Your server endpoint for webhook notifications.
Check all available request parameters.
The response contains payment.id. Pass this securely to your client-side for the next step.
2. Add Component to your payment page (Client-side)
Include monei.js on your checkout page by adding the script tag to the head of your HTML file.
<head>
  <title>Checkout</title>
  <script src="https://js.monei.com/v2/monei.js"></script>
</head>
<body>
  <!-- Create an empty container for the card input -->
  <div id="card-element">
    <!-- A MONEI Card Input Component will be inserted here. -->
  </div>
  <!-- Your client-side script -->
  <script src="client.js"></script>
</body>
Create an empty DOM node (container) with a unique ID in your checkout page. Then, initialize the Component:
// Get paymentId passed securely from your server
const paymentId = '{{payment_id}}'; // Replace with actual paymentId

// Create an instance of the Card Input Component using the paymentId.
const cardElement = monei.CardInput({
  paymentId: paymentId
  // You can add other options like style, onFocus, onChange here
  // See MONEI Components reference for details
});

// Render the Component into the container
cardElement.render('#card-element');

// Next step: Confirm the payment (see below)
3. Confirm the payment (Client-side)
To complete the payment, you need to confirm it using the monei.confirmPayment function.
You need to provide the paymentId (obtained in Step 1) and a paymentToken generated with the Component.
// Assumes cardElement is the initialized CardInput component from Step 2

// Function to create a token and then confirm the payment
function handlePayment() {
  monei
    .createToken(cardElement) // Create token from the card input
    .then(function (result) {
      console.log('Token creation result:', result);
      if (result.error) {
        // Inform the user if there was an error creating the token.
        console.error('Token Error:', result.error.message);
      } else {
        // Token created successfully, now confirm the payment.
        confirmPaymentWithToken(result.token);
      }
    })
    .catch(function (error) {
      console.error('Error during token creation:', error);
    });
}

// Function to handle the payment confirmation using the generated token
function confirmPaymentWithToken(paymentToken) {
  monei
    .confirmPayment({paymentId: paymentId, paymentToken: paymentToken})
    .then(function (result) {
      console.log('Payment confirmation result:', result);
      // At this moment you can show a customer the payment result (e.g., redirect)
      // But you should ALWAYS rely on the result passed to the callback endpoint
      // on your server (Step 4) to update the final order status.
      if (result.error) {
        console.error('Confirmation Error:', result.error.message);
      } else {
        console.log('Payment status (client-side):', result.status);
        // Example: window.location.href = '/thank-you?paymentId=' + paymentId;
      }
    })
    .catch(function (error) {
      console.error('Error during payment confirmation:', error);
    });
}

// You would typically call handlePayment() when the user clicks your pay button.
// Example: document.getElementById('your-pay-button').addEventListener('click', handlePayment);
After you confirm the payment, MONEI handles any necessary steps like 3D Secure authentication.
As an alternative process, you can submit the generated paymentToken to your server and then confirm the payment server-side.
4. Process Webhook Notification (Server-side)
After the client-side interaction and any necessary background processing (like 3D Secure or bank authorization), MONEI sends the final, authoritative payment status via an asynchronous HTTP POST request to the callbackUrl you provided in Step 1.
The request body contains the full Payment object in JSON format.
This webhook is the only reliable way to confirm the definitive payment outcome.
Crucially, you must:
- Verify the
MONEI-Signatureheader included in the request. This confirms the webhook genuinely came from MONEI. See the Verify Signatures guide for implementation details. - Return a
200 OKHTTP status code immediately upon receiving the webhook to acknowledge receipt. Any other status code tells MONEI the notification failed.
If MONEI doesn't receive a 200 OK, it will retry sending the webhook.
Once the signature is verified, inspect the status field in the Payment object (SUCCEEDED, FAILED, CANCELED, etc.) to determine whether to fulfill the order or handle the failure.
Before you go live
- Make sure you are using live (production) mode Account ID and API Key.
- Make sure you have a payment method configured and enabled in live mode.