Use QR code payments
Accept in-store contactless payments with QR codes. Choose between the MONEI Pay app, Dashboard Points of Sale, or the Payments API.
Permanent vs One-Time QR Codes
| Permanent | One-Time | |
|---|---|---|
| Created via | Dashboard Points of Sale | MONEI Pay App / Payments API |
| URL format | https://secure.monei.com/codes/{code_id} | https://secure.monei.com/payments/{payment_id}/qr |
| Reusable | Yes, same QR for multiple transactions | No, one payment per QR |
| Amount | Customer enters (manual) or fixed | Pre-set per payment |
| Expiration | Never (can be disabled) | 5 minutes (or custom expireAt via API) |
| Best for | Static displays, printed materials, tables | Dynamic checkout, invoices, mobile POS |
Before You Begin
- You'll need a MONEI account. Find your API keys in MONEI Dashboard → Settings → API.
- Use test mode keys for integration testing.
- Ensure relevant payment methods are enabled in your account settings.
- Monitor test payments in Dashboard → Payments (enable Test Mode toggle).
- MONEI Pay & Dashboard
- Payments API
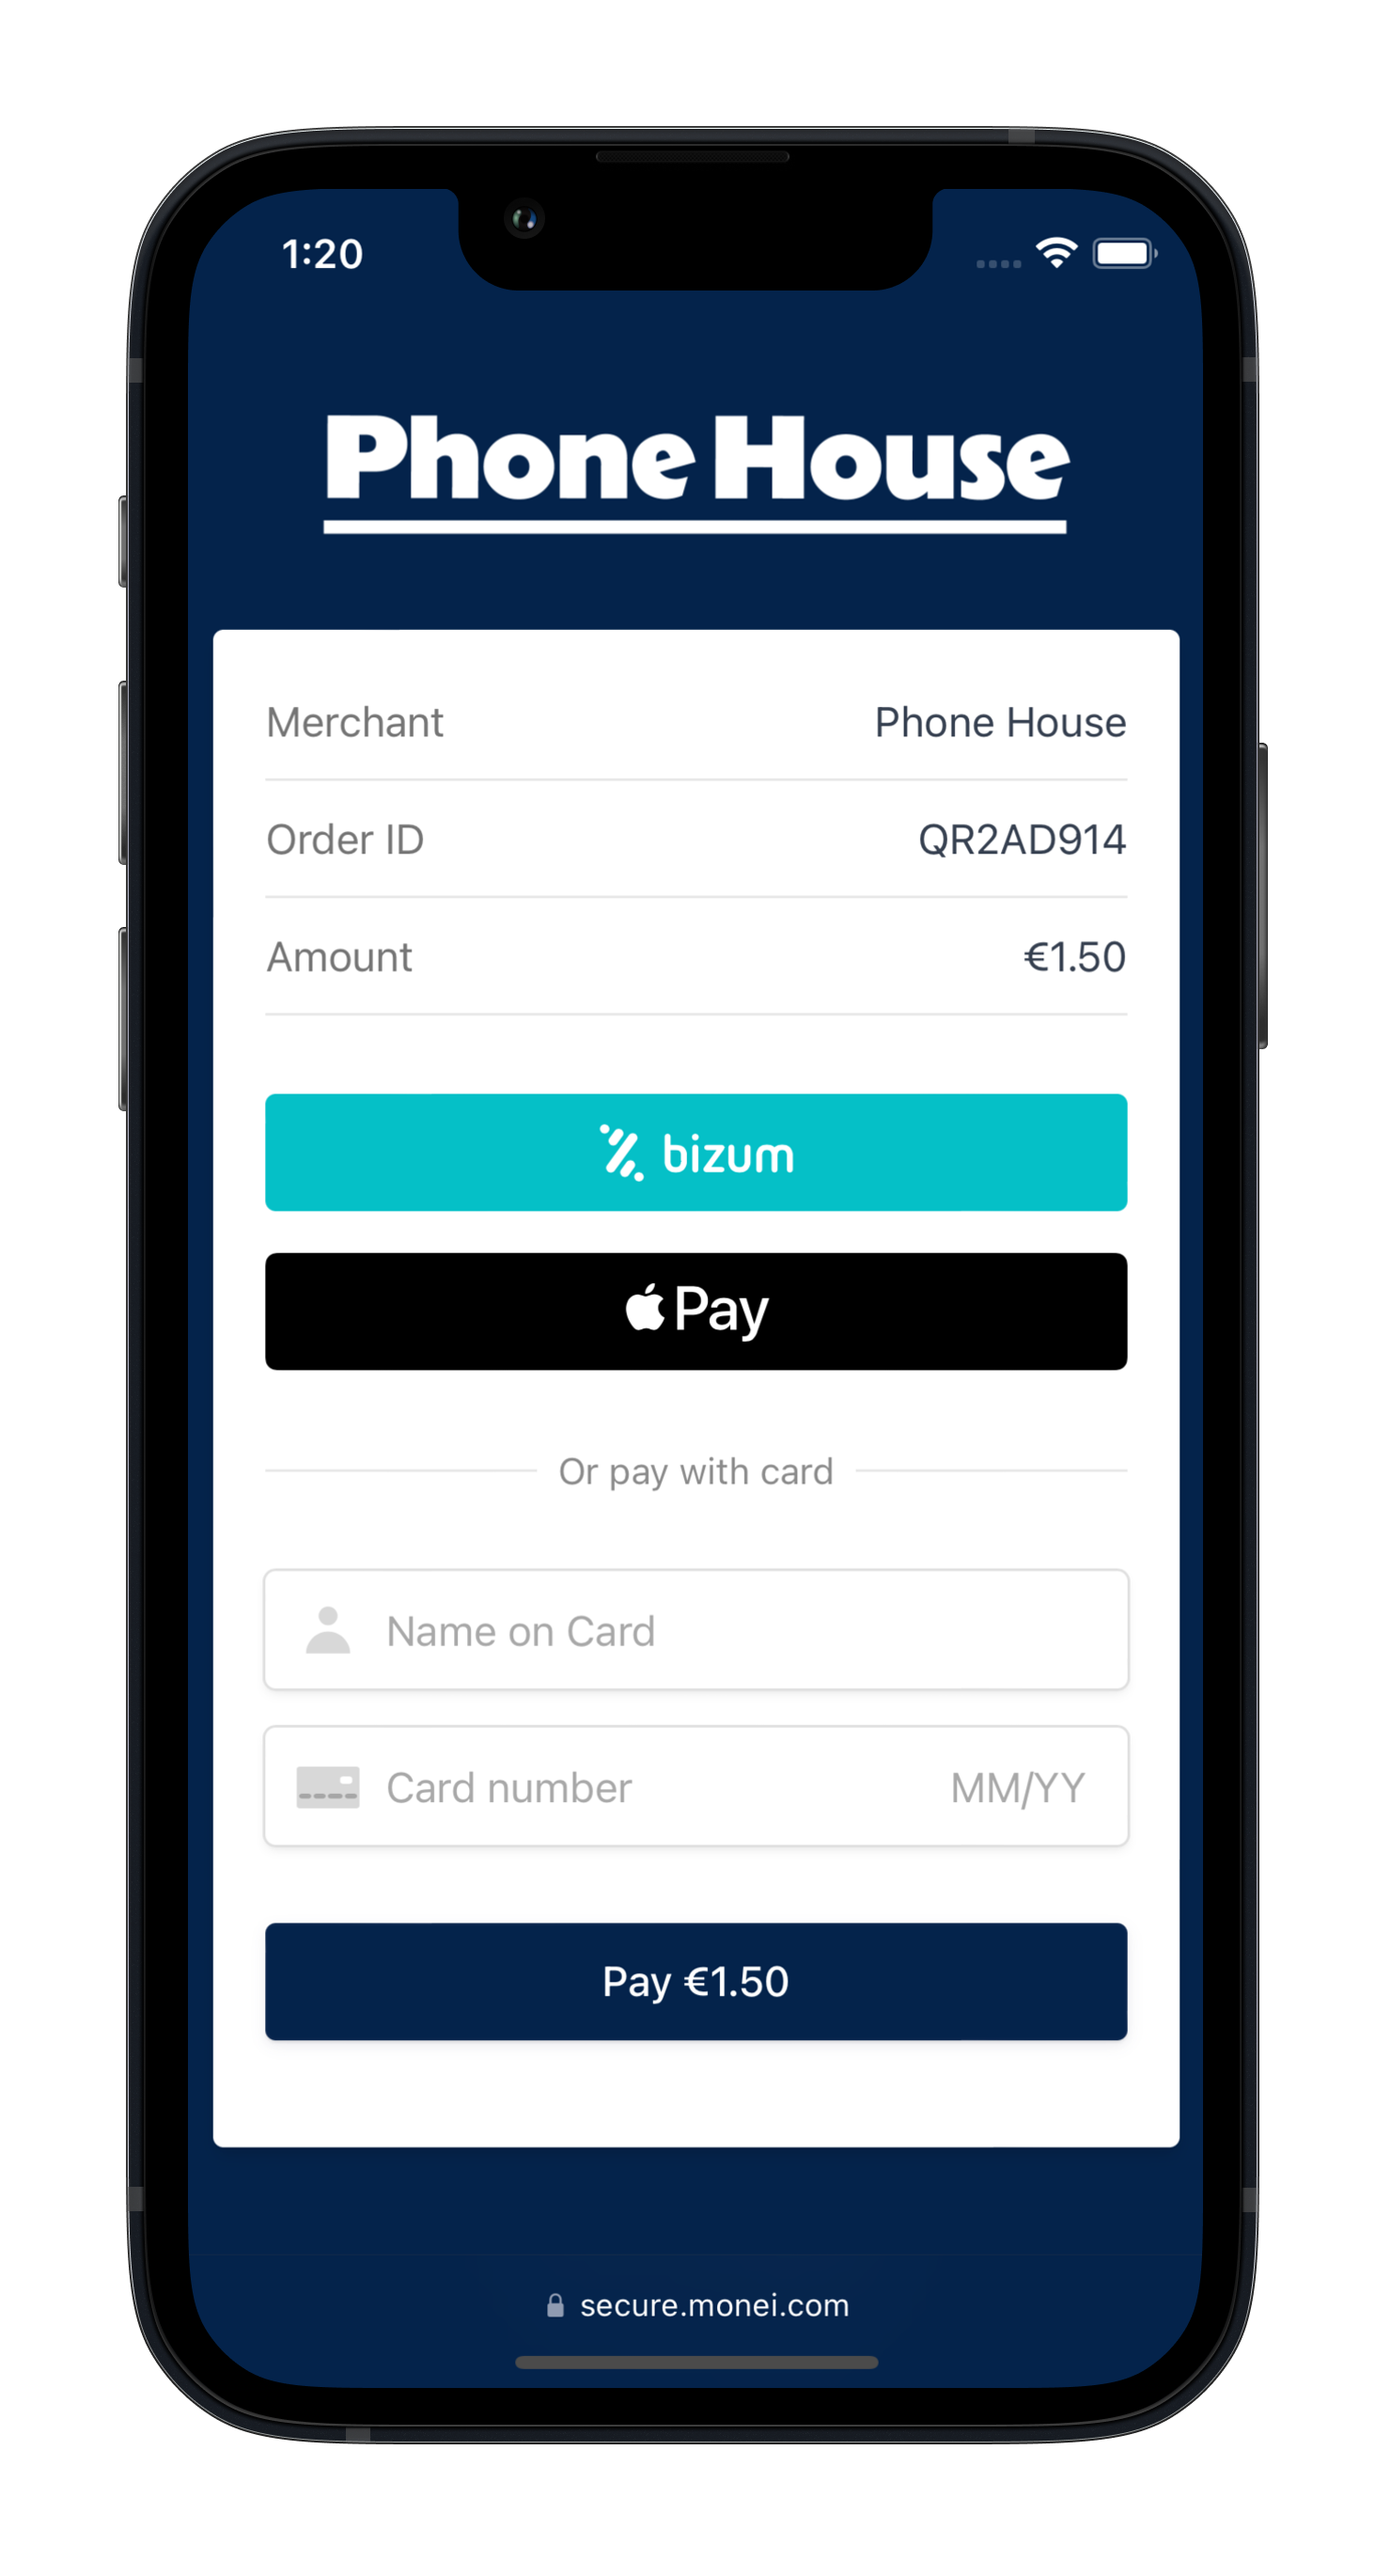
MONEI Pay App
MONEI Pay provides the easiest way to accept payments in-store using a dedicated app.
Login into pay.monei.com or download the MONEI Pay app using your MONEI Dashboard credentials to start creating QR payment codes.
MONEI Pay also supports NFC tap-to-pay for contactless card payments. If you have your own merchant app, you can integrate NFC payments using the App-to-App Integration SDKs.
Dashboard Points of Sale
Create and manage QR-based Points of Sale directly in your MONEI Dashboard.
Creating a Point of Sale
- Go to Dashboard → Settings → Points of Sale
- Click Create Point of Sale
- Select QR Code as the type
- Configure your POS settings (see options below)
Configuration Options
| Option | Description |
|---|---|
| Name | Identifier for this POS (e.g., "Store Entrance", "Table 5") |
| Store | Associate with a store for multi-location tracking |
| Payment Flow | Manual Amount: Customer enters amount each time. Fixed Amount: Same amount for all transactions |
| Fixed Amount/Currency | Pre-set amount when using Fixed Amount flow |
| Allowed Payment Methods | Restrict which payment methods appear (Card, Bizum, PayPal, etc.) |
| Manual Capture | Place hold on funds (auth-only), capture later. Supported for Card, PayPal, and Bizum |
| Require Email | Force customers to enter email before paying |
| Require Tax ID | Require NIF/CIF for invoicing purposes |
| Callback URL | Webhook URL for payment notifications |
| Include QR in Email | Add QR code containing order ID to confirmation email (useful for ticketing/events) |
| QR Code Text | Custom text shown alongside QR in confirmation email |
| Description | Description passed to all payments from this POS |
Managing QR Codes
Each POS can have multiple QR codes. From the POS detail page:
- Generate new codes for different locations or displays
- Download QR codes as SVG or PNG (300px, 500px, or 1000px)
- Enable/disable codes without deleting them
- Copy permalink for embedding:
https://secure.monei.com/codes/{code_id}
Use Cases
- Retail: Manual amount flow, enable multiple payment methods
- Events/Ticketing: Fixed amount, require email, enable "QR in confirmation email"
- Table service: Create multiple POS per store for tracking
- Kiosk: Fixed amount, restrict to card-only
User Access Control & Payment Grouping
Stores and Points of Sale enable user access control and payment grouping:
- Assign users to stores/POS: In Dashboard → Settings → Users, bind users (e.g., waiters, cashiers) to a store or POS
- Restricted visibility: Bound users only see payments from their assigned store/POS
- Automatic inheritance: When a bound user creates a payment via Dashboard or MONEI Pay, it inherits their store/POS ID
- API grouping: Pass
storeIdorpointOfSaleIdwhen creating payments via API to group them for reporting - Traceability: Admins can filter and track payments by store or POS origin
Creating QR Payments Programmatically
Generate QR payment codes using the MONEI API for custom integrations.

1. Create Payment (Server-side)
Create a Payment on your server with an amount and currency.
- cURL
- Node.js
- PHP
- Python
curl --request POST 'https://api.monei.com/v1/payments' \
--header 'Authorization: YOUR_API_KEY' \
--header 'Content-Type: application/json' \
--data-raw '{
    "amount": 110,
    "currency": "EUR",
    "orderId": "14379133960355",
    "callbackUrl": "https://example.com/checkout/callback"
}'
(Replace YOUR_API_KEY with your actual MONEI API key)
import {Monei} from '@monei-js/node-sdk';

// Replace YOUR_API_KEY with your actual MONEI API key
const monei = new Monei('YOUR_API_KEY');

const payment = await monei.payments.create({
  amount: 110,
  currency: 'EUR',
  orderId: '14379133960355',
  callbackUrl: 'https://example.com/checkout/callback'
});

// You will need the paymentId from the response to generate the QR code URL
const paymentId = payment.id;

// Construct the QR code URL
const qrCodeUrl = `https://secure.monei.com/payments/${paymentId}/qr`;
<?php
require_once 'vendor/autoload.php';

use Monei\Model\CreatePaymentRequest;
use Monei\MoneiClient;

// Replace YOUR_API_KEY with your actual MONEI API key
$monei = new MoneiClient('YOUR_API_KEY');

$payment = $monei->payments->create(
  new CreatePaymentRequest([
    'amount' => 110,
    'currency' => 'EUR',
    'order_id' => '14379133960355',
    'callback_url' => 'https://example.com/checkout/callback'
  ])
);

// You will need the paymentId from the response to generate the QR code URL
$paymentId = $payment->getId();

// Construct the QR code URL
$qrCodeUrl = "https://secure.monei.com/payments/{$paymentId}/qr";
?>
import Monei
from Monei import CreatePaymentRequest

# Replace YOUR_API_KEY with your actual MONEI API key
monei = Monei.MoneiClient(api_key="YOUR_API_KEY")

payment = monei.payments.create(
    CreatePaymentRequest(
        amount=110,
        currency="EUR",
        order_id="14379133960355",
        callback_url="https://example.com/checkout/callback"
    )
)

# You will need the paymentId from the response to generate the QR code URL
payment_id = payment.id

# Construct the QR code URL
qr_code_url = f"https://secure.monei.com/payments/{payment_id}/qr"
Required Parameters:
- amount
positive integer: Amount in the smallest currency unit (e.g., 110 for €1.10). - currency
string: Three-letter ISO currency code (e.g.,EUR). - orderId
string: Your unique order identifier. - callbackUrl
string: Your server endpoint URL for asynchronous webhook notifications.
Optional Parameters:
- allowedPaymentMethods
array: Restrict available payment methods (e.g.,["card", "bizum"]) - description
string: Payment description shown on the payment page - customer
object: Pre-fill customer info (email,name,phone) - metadata
object: Custom key-value pairs for tracking/reconciliation - storeId
string: Associate payment with a store (for grouping and user access control) - pointOfSaleId
string: Link payment to a POS (for grouping and user access control) - expireAt
integer: Unix timestamp for custom expiration (default: 5 minutes from creation)
Check all available request parameters.
The API response includes the payment.id, which you'll use in the next step.
2. Display QR Code & Handle Interaction (Client-side/Physical)
Use the payment.id from Step 1 to present the QR code to your customer.
Option 1: Embed QR Image Directly
Construct the QR code image URL: https://secure.monei.com/payments/{payment_id}/qr
You can render it directly on a webpage or display:
<img
  src="https://secure.monei.com/payments/{{payment_id}}/qr?format=svg&size=300"
  alt="Scan to Pay"
  width="300"
  height="300"
/>
- Replace
{{payment_id}}with the actual ID. - Use
?format=svgfor SVG (default ispng). - Use
?size=400to specify size (min: 100, max: 1000, default: 300).
Option 2: Redirect to Hosted Page with QR
The Payment object returned in Step 1 also contains payment.nextAction.redirectUrl. Append ?qr=1 to this URL to get a link to a MONEI-hosted page displaying the QR code.
Example: https://secure.monei.com/payments/{payment_id}?qr=1
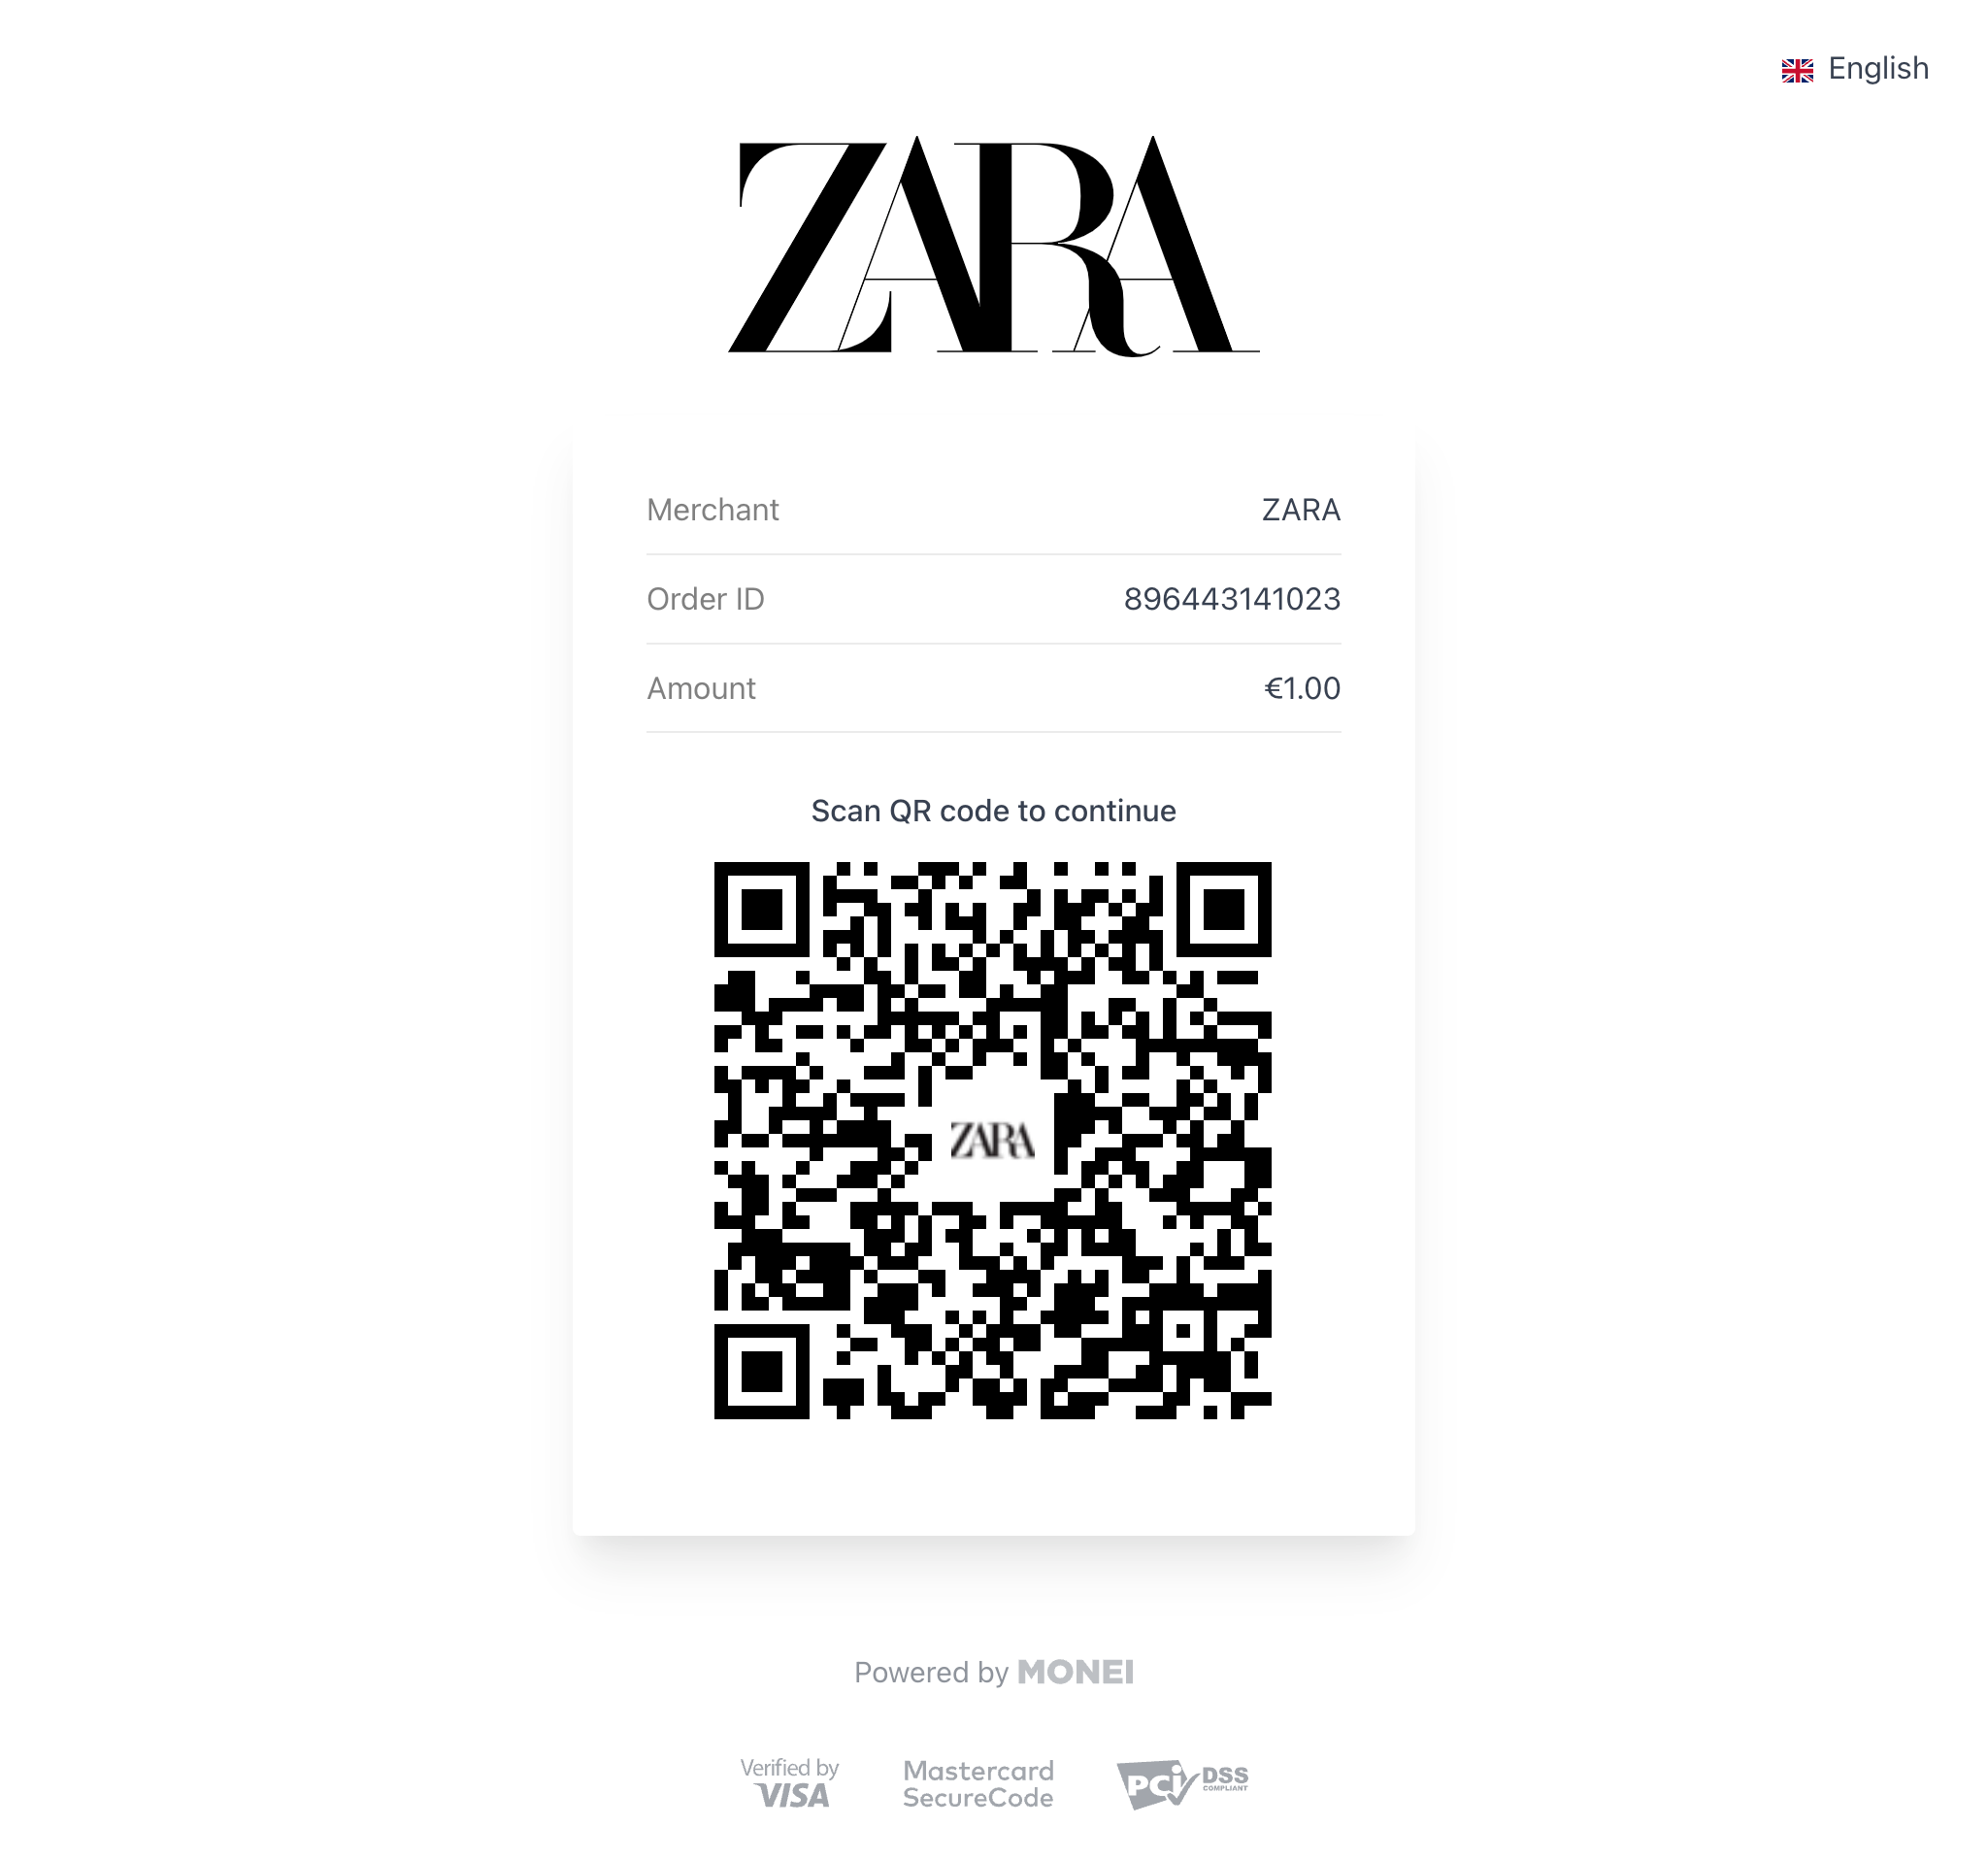
Customer Interaction:
The customer scans the QR code with their phone and completes the payment on the MONEI payment page using their chosen method.
The QR code payment link is valid for 5 minutes. After that, you must create a new payment request.
3. Process Webhook Notification (Server-side)
MONEI sends the final, authoritative payment status via an asynchronous HTTP POST request to the callbackUrl you provided in Step 1. The request body contains the full Payment object in JSON format.
This webhook ensures you get the definitive status even if the customer closes their browser or loses connection after scanning.
Crucially, you must:
- Verify the
MONEI-Signatureheader included in the request. This confirms the webhook genuinely came from MONEI. See the Verify Signatures guide for implementation details. - Return a
200 OKHTTP status code immediately upon receiving the webhook to acknowledge receipt. Any other status code tells MONEI the notification failed.
If MONEI doesn't receive a 200 OK, it will retry sending the webhook.
Once the signature is verified, inspect the status field in the Payment object to confirm payment success (SUCCEEDED) and fulfill the order, or handle failures.
Alternative: Poll Payment Status
For kiosk or display scenarios where you need real-time status updates, poll the payment status instead of (or in addition to) webhooks.
- cURL
- Node.js
- PHP
- Python
curl --request GET 'https://api.monei.com/v1/payments/{payment_id}' \
--header 'Authorization: YOUR_API_KEY'
const payment = await monei.payments.get(paymentId);
console.log(payment.status);
<?php
$payment = $monei->payments->get($paymentId);
echo $payment->getStatus();
?>
payment = monei.payments.get(payment_id)
print(payment.status)
Status values: PENDING, PENDING_PROCESSING, SUCCEEDED, FAILED, CANCELED, EXPIRED
Poll every 2-3 seconds. Stop when status is no longer PENDING/PENDING_PROCESSING or when the QR expires.
Customization
You can customize the appearance of the QR code (color, icon) and the hosted payment page in your MONEI Dashboard → Settings → Branding.
Testing
- Use your test mode API keys for development
- Enable Test Mode in your Dashboard to view test payments
- Use test card numbers to simulate different scenarios
- Verify webhook delivery in Dashboard → Developers → Webhooks
Troubleshooting
QR code expired QR codes are valid for 5 minutes. Create a new payment if the code expires.
Payment method not showing
Check that the method is enabled in your account and not filtered by allowedPaymentMethods.
Webhook not received
Verify your callbackUrl is publicly accessible, returns 200 OK, and check webhook logs in Dashboard.